

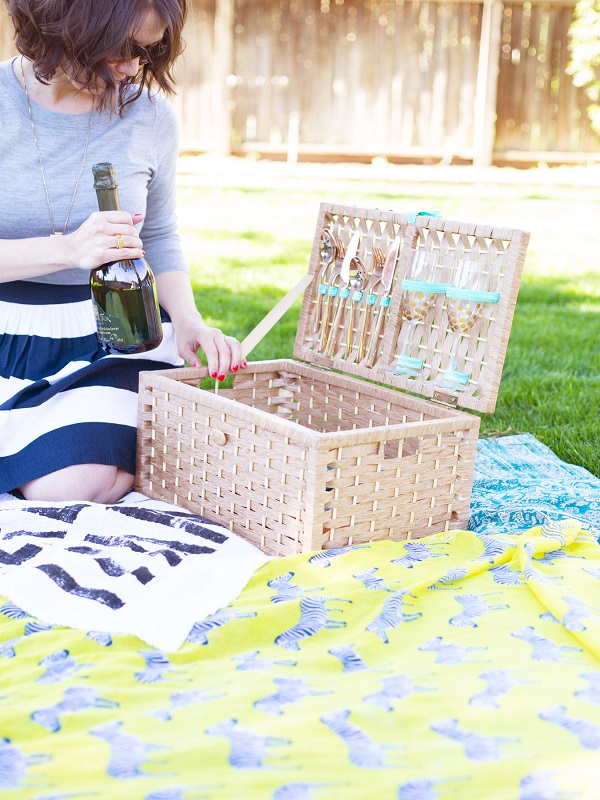
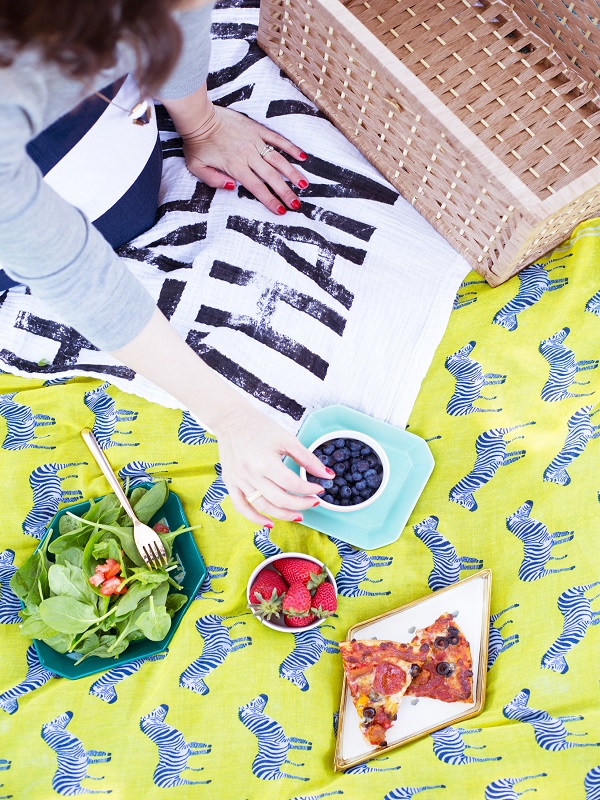
via lovelyindeed: If you don’t remember, we spent a few weeks in Paris a few years ago and I came back with my head absolutely in the clouds. As a matter of fact, of my very favorite Parisian-y things to do was to pack a picnic and go eat in the park (preferably under the Eiffel Tower, duh), which led to one of my favorite pictures of all time. So when we came back, I figured out how to make a picnic basket for a perfect Parisian-type picnic so we could pretend we were back there again. In case you dream of the same thing, we’re sharing our little tutorial here for you.
The key to this project is that you don’t actually have to make the basket, you just find a really great pre-existing one and outfit it for picnicking. And that means that you can find a basket that’s perfect for your needs, whether it’s larger, smaller, or any shape and color you can imagine. As you’re planning how to make a picnic basket, consider your needs and the types of items you’d like to be able to store inside your basket. It also helps to thing about how you’ll be transporting it (bike, car, walking, and so on). That should help you narrow down the size and shape of the perfect basket.
Materials
- basket with hinged lid
- E6000 (or your favorite mega-strong glue)
- colorful elastic ribbon
- large button
- scissors
- upholstery thread
Make Time: 1 Hour (Plus Drying Time)
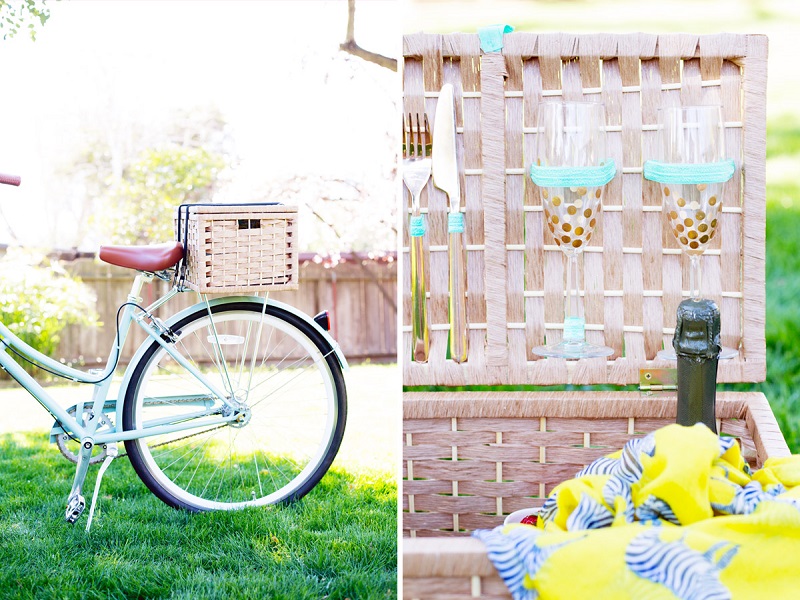
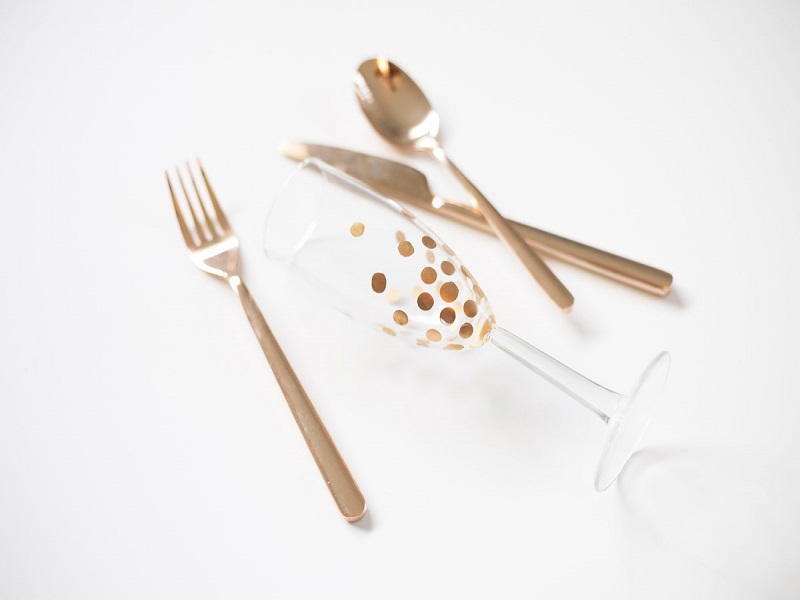
Start by figuring out what utensils you’d like to attach to the inside of your basket. I wanted to make space for a couple of sets of silverware, and a couple of champagne glasses. (Speaking of which, here’s a tutorial to make your own gold polka dot champagne flutes!)
Then, measure out the elastic so that it’s long enough to wrap around your glasses but keep them very snug. Snip off the right amount of elastic. Spread E-6000 on both ends and press the ends firmly into the underside of the basket lid.

Repeat the process for the other items you’d like to attach to the lid. For utensils, make a small loop of elastic by cutting about 2 inches and glueing the ends together. Then glue the loop to the lid in the same way you did for the glasses.
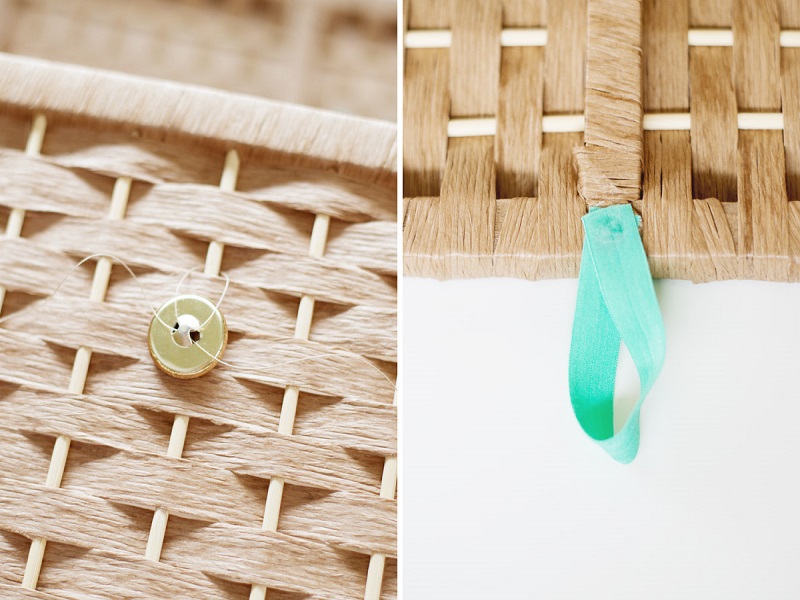
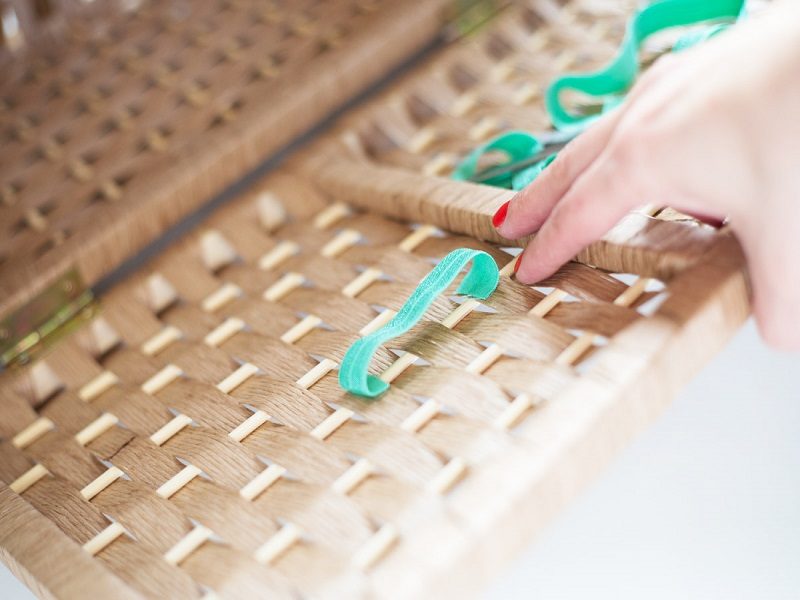
Use thick upholstery thread to weave through the front of the basket and through the hole of your button. Next, make a few passes with the needle to ensure that the connection is strong. Finally, double knot and snip the ends.
Glue a loop of elastic to the underside of the lid of your basket, long enough to reach around the button and hold the lid taut.

Allow all of your glue to dry for at least 24 hours, or until it’s completely cured. If you’d like to add places to hold plates or larger items to the lid or sides of your basket, do so in the same manner that you added the elastic for the glasses. Plates hold well if you glue the elastic on in an “X” shape, because then they stay secure if your basket gets jostled around.
And that’s all! Fill it with fun treats (champagne required) and get yourself on some picnics! xoxo


