Easter holiday is the best timing for family bonding. There are many things you could do to spend quality time with your kids.
Amongst the many activities to do on Easter, Easter crafts for kids are something you should definitely try with your little ones.
Trying out different DIY Easter crafts with your kids is a great way to help your kids express their creativity, learn to plan and solve problems through arts, develop their motor skills, and make fun memories with you to treasure throughout their life.
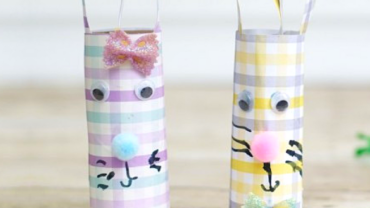
If you are looking for easy Easter crafts for kids, try this DIY Easter Bunny project with toilet paper rolls and scrapbook paper!
It is fun and easy. You will enjoy it! Try it out and share your experience with us in the comments section below!
Via Crafts By Courtney: DIY Gingham Scrapbook Paper and Toilet Paper Roll Easter Rabbits
Craft Materials
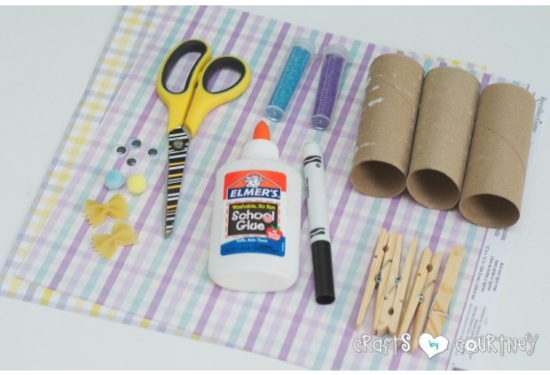
Before starting this project, you’ll need the following materials:
Toilet Paper Rolls, Glitter, Markers, Pom Poms, Googly Eyes, Scrapbook Paper, Bow Tie Noodles, Clothespins, Glue, Hot Glue
I’m SO excited to work on Easter crafts again with the boys. One of the first crafts I want to make this year were toilet paper roll Easter rabbits.
We made TP roll Easter bunnies last year, but wanted to give these a fresh spin!
Getting Started
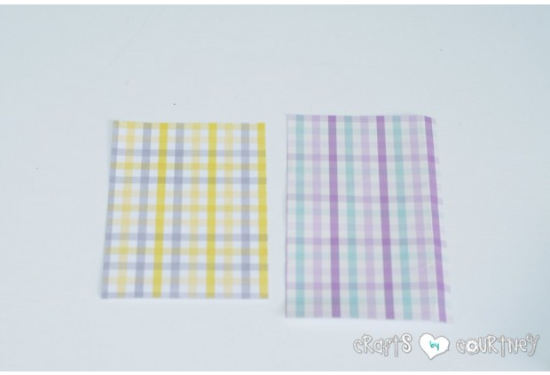
As with ALL my crafts, I made a quick trip to Michaels for supplies. I had most of the supplies on hand for this one, BUT I just needed the perfect scrapbook paper.
I was so lucky and found all these DIFFERENT shades of gingham and fell in love with ‘em!
Step 1 – Create Your Rabbit’s Body
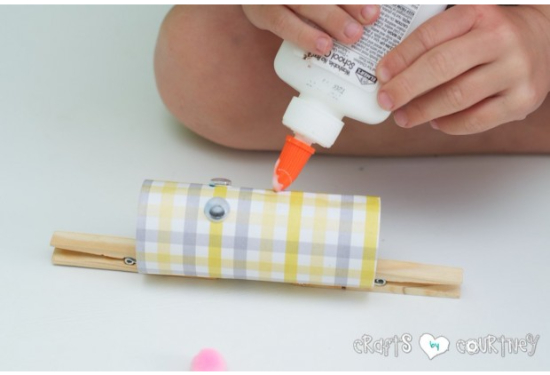
I pre-cut the rabbits bodies, so my son was able to glue them on HIMSELF. We applied glue along the backside of the paper and gently wrapped it around the toilet paper roll.
We then secured the scrapbook paper with TWO clothespins.
Step 2 – Make Your Bow Tie
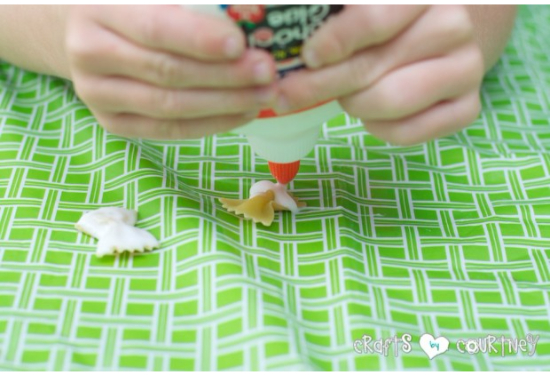
This step was super easy…all we did was COVER the bow tie noodles in glue and sprinkle them with glitter!! Easy as that.
Step 3 – Add Your Rabbit’s Face
My son added his eyes, nose and mouth all by himself. The eyes went on perfect with the glue, BUT the pom pom nose was not so easy.
With the eyes and nose IN PLACE, take your black marker and draw on your bunny’s mouth and whiskers. That’s it!
Quick Tip: If the nose ISN’T sticking, I suggest using a little hot glue to keep in place.
Step 4 – Make Your Rabbit’s Ears
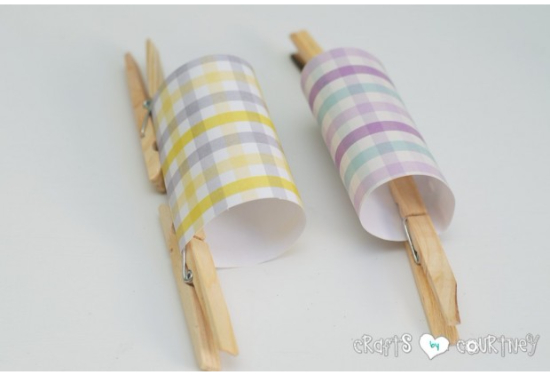
I decided to do the rabbits ears myself. I folded AND glued together my scrapbook paper and let dry 20 minutes. Once the glue was DRY, I cut in half.
Then, I added a little glue to the bottom and used a clothespin to secure in place for 20 minutes.
When I added the ears to the rabbit, I dabbed a little glue at the BOTTOM and once again used my “Handy Dandy” clothespins to keep in place.
Step 5 – Finishing Touches
Once the face was DRY, we hot glued on our rabbits’ bow ties and hair bows!
They turned out super cute. My son was really excited to show off his rabbits to everyone. I’m really GLAD he still gets excited with all our craft projects 🙂
Once again, our crafting time was a SUCCESS!! We had lots of fun and some laughs while creating a special memory together.
That’s my favorite part…creating the memories.
We had lots of fun…while creating a special memory together.
I hope my boys look back (when they get older) and remember these times. Because I know there will be a time making toilet paper roll rabbits with mom WON’T be fun…


